Career & Technical Education (CTE) Program

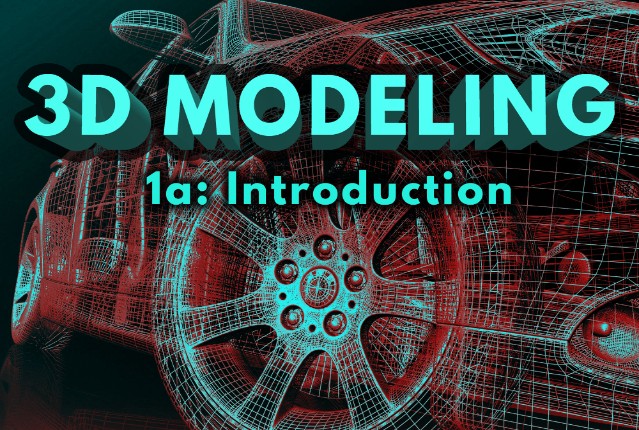
3D Modeling 1a: Introduction

3D Modeling 1a: Introduction

Heart valves, cars, cartoons, and buildings may not seem to have much in common, but they all share one spectacular attribute: all originated as a 3D model. 3D modeling has changed the way the world makes things, and in this course, you’ll learn the basics to begin creating in 3D! You’ll learn how different 3D models are built and how to practice using a variety of modeling methods. By the end of the course, you’ll walk away with a portfolio of your ingenious modeling ideas. 3D modeling is an essential part of the modern world and soon, you’ll be able to contribute yourself!

Review course outline

Access for a year

USD 299.00*

* Choose more courses to get a discount
Enroll now

Units at a glance

In our technologically advanced society, nearly everyone has been touched by 3D modeling in some way. We’re used to seeing 3D models in the movies we watch, the games we play, and the ads we view. Still, it’s not just the entertainment and advertising industries that employ the magic of modeling. We can also find the integration of 3D models and simulations in the healthcare, automotive, and even fashion industries. Are you ready to take a look at the various stages of modeling and embark on a journey to become a 3D modeler?

What will you learn in this unit?

  • Describe 3D modeling in the context of various real-world applications
  • Trace the history of 3D modeling back to before computers were invented
  • Distinguish between a variety of types and techniques of 3D modeling
  • Discuss how 3D modeling fits into the animation pipeline

What does creative freedom mean to you? The ability to create what you want or need? The freedom to explore your creative nature in an educated way? Perhaps it’s a bit of both. Well, one thing is for sure—learning a skill like 3D modeling will expand your creative freedom in many ways. Think about it: Freedom means having options and choices, which means creative freedom allows you to bring something into existence where once there was nothing. Blender offers a chance to take advantage of your personal creative freedom and make the most of the tools it provides to let your imagination soar. All you need to do is develop the skills to use it effectively. Once you have that down, the only challenge will be coming up with your next extraordinary idea. But, like all great artists, you must start at the beginning and learn the basics of your craft. As a 3D modeler, your work will depend on your use of computers, so let’s take a deeper look at how your computer works, what software you’ll be using, and how to create your first 3D model!

What will you learn in this unit?

  • Understand the distinct functions of software and hardware
  • Identify the parts of the Blender interface
  • Navigate 3D space in Blender
  • Create and transform 3D objects

When you look around our world, you may notice that a lot of objects we see and use every day have a very cube-like appearance. Your desk, your monitor, the window, the frames on the walls—many of them resemble cubes or rectangular prisms. When designing and modeling 3D assets, it makes sense that we often start with a cube (box modeling), but we don’t live in the Minecraft world, so how can we create more variety? We’ve gone 3D, now let’s go a little deeper—it’s time to create some unique shapes of your very own.

What will you learn in this unit?

  • Manipulate objects in relation to the Blender grid
  • Manage the Outliner for file organization
  • Create complex objects using the components of a polygon
  • Understand the elements and principles of design in relation to the 3D modeling process

NURBS modeling unlocks the potential of truly smooth curves in 3D modeling. It’s the technique of choice for the gorgeous organic curves of a vine or the precisely aerodynamic shape of an airplane’s wing. In relation to box modeling, it’s the difference between a truly circular tire and a tire made of hundreds of little squares glued together. (It might look OK from a distance, but you wouldn’t want to go for a ride…) Let’s take a look at this new technique in detail so that you can create whatever your mind imagines.

What will you learn in this unit?

  • Explain the advantages and disadvantages of NURBS modeling
  • Identify the differences between meshes, surfaces, and curves
  • Demonstrate the use of curves to create NURBS models
  • Utilize surfaces to create NURBS models
  • Convert NURBS surfaces to polygon meshes

With the basics of polygon modeling and NURBS modeling under control, it’s finally time to dive into the intermediate tools needed to create more complex models. Working with polygon meshes, these tools will let you stretch and form a cube to ensure that your animated models stay realistic as they duck and dive around your scene. The tools will also make your life as a modeler a lot easier. With great power, though, comes great responsibility in the form of dealing with potentially troublesome errors. Understanding how to best use these tools will prove essential in your future creations.

What will you learn in this unit?

  • Translate 2D images into 3D models using image planes
  • Add geometry to your polygon meshes using the Extrude Tool
  • Create and edit edge loops to add detail to your models
  • Implement the appropriate Boolean to efficiently create complex details

It’s time to start modifying your polygon meshes with a new level of detail. That means elevating your work from an extruded cube to a detailed asset through the use of modifiers and cutting tools. With modifiers, you’ll easily change the surface and shape of your mesh. You’ll add geometry to round the corners of a park bench or create ripple-like changes to the surface of a woven blanket. With cutting tools you’ll break apart and draw detail into your mesh. We’ll see a heart-shaped button on a remote control, but the limit is really only your imagination and effort. It’s time to bring your objects to life.

What will you learn in this unit?

  • Identify various modifier types and their common options
  • Add Generate Modifiers to change the topology of an object
  • Use Deform Modifiers to change the shape of an object
  • Edit a polygon mesh through the use of cutting and division tools

With a solid knowledge of basic and intermediate tools, it’s time to push past NURBS and polygon modeling to see what else a modeler can accomplish in Blender. As a robust 3D modeling software, Blender offers digital sculpting tools to allow for high-resolution detail to be added to your models. What’s that mean exactly? Well, for one, you’ll soon be able to sculpt a crater-filled moon in Blender not unlike how you could with a ball of clay. Whatever you’re modeling, however, knowing these more advanced skills will be invaluable to your career.

What will you learn in this unit?

  • Describe the sculpting tools available in Blender
  • Sculpt organic detail into your mesh objects
  • Streamline the sculpting workflow with advanced tools and options
  • Modify and vary background models through procedural modeling

Preproduction is a distant memory and production is well underway. You’ve taken your unique idea and learned to model and sculpt it into reality. Your detailed 3D models for this course are nearly complete. It’s time to add some finishing touches and prepare a portfolio to show off your work. But what are those finishing touches? And what exactly should you show and how exactly should you show it? In this unit, we’ll look at how to finish up a project as well as how to use design concepts to put your best foot forward. We’ll end with a review of resources you can use as you continue your modeling journey.

What will you learn in this unit?

  • Finalize a complex 3D model
  • Apply visual composition concepts in the presentation of your models
  • Compose and critique a portfolio page for print and digital publishing
  • Access additional resources to aid your modeling journey

Physical

  • Video recording device
  • Paper and pencil
  • Ruler
  • Colored pencils/markers
  • Camera
     

Software

  • Word processing software
  • Presentation software
  • Blenderversion 2.90
    • 64-bit eight core CP
    • 32 GB RAM
    • Full HD displays
    • Three button mouse
    • Graphics card with +12 GB RAM
  • Word processing software
     

Optional

  • Drawing software
Enroll now
Go back

Companion courses

Animation 1a: Introduction

Animation 1a: Introduction

Show all
Digital Media Fundamentals 1a: Introduction

Digital Media Fundamentals 1a: Introduction

Show all
Foundations of Game Design 1a: Introduction

Foundations of Game Design 1a: Introduction

Show all
Principles of Information Technology 1a: Introduction

Principles of Information Technology 1a: Introduction

Show all